Cruise ship Mein Schiff 3 - The bow section
- May 10, 2023
- 3 min read

With the stern in print, I had plenty of time to redesign the nose section. There were also a few places that bothered me in the first version. For one thing, there was an enormous weight problem. The bow was very bulky, making it heavier than the other parts. It was also the first part I printed in my early days of 3D printing. So the construction could do with a refit, which I finally did.

However, I started with the smaller problems and worked my way up. The anchor bags were here in the first place. They were designed too thin and collapsed slightly when the first hull was pressed and light shimmered through. I deleted the anchor pockets, restored the original hull shape by hand, and started again building appropriate negative blocks for the anchor pocket cutouts.

Then I put them in position and cut out the holes. It was again necessary to look at many pictures about the anchor of the ship at this point. Unfortunately, there weren't too many pictures here, but I think I hit the original well.

After the anchor bags were completed, I took care of the upper deck area along the nose of the bow. On the real ship there are railings here. I tried to create these, but during a test print I noticed that they are too filigree for printing on this scale, so that the railings will later be created using fine wire and a soldering iron.

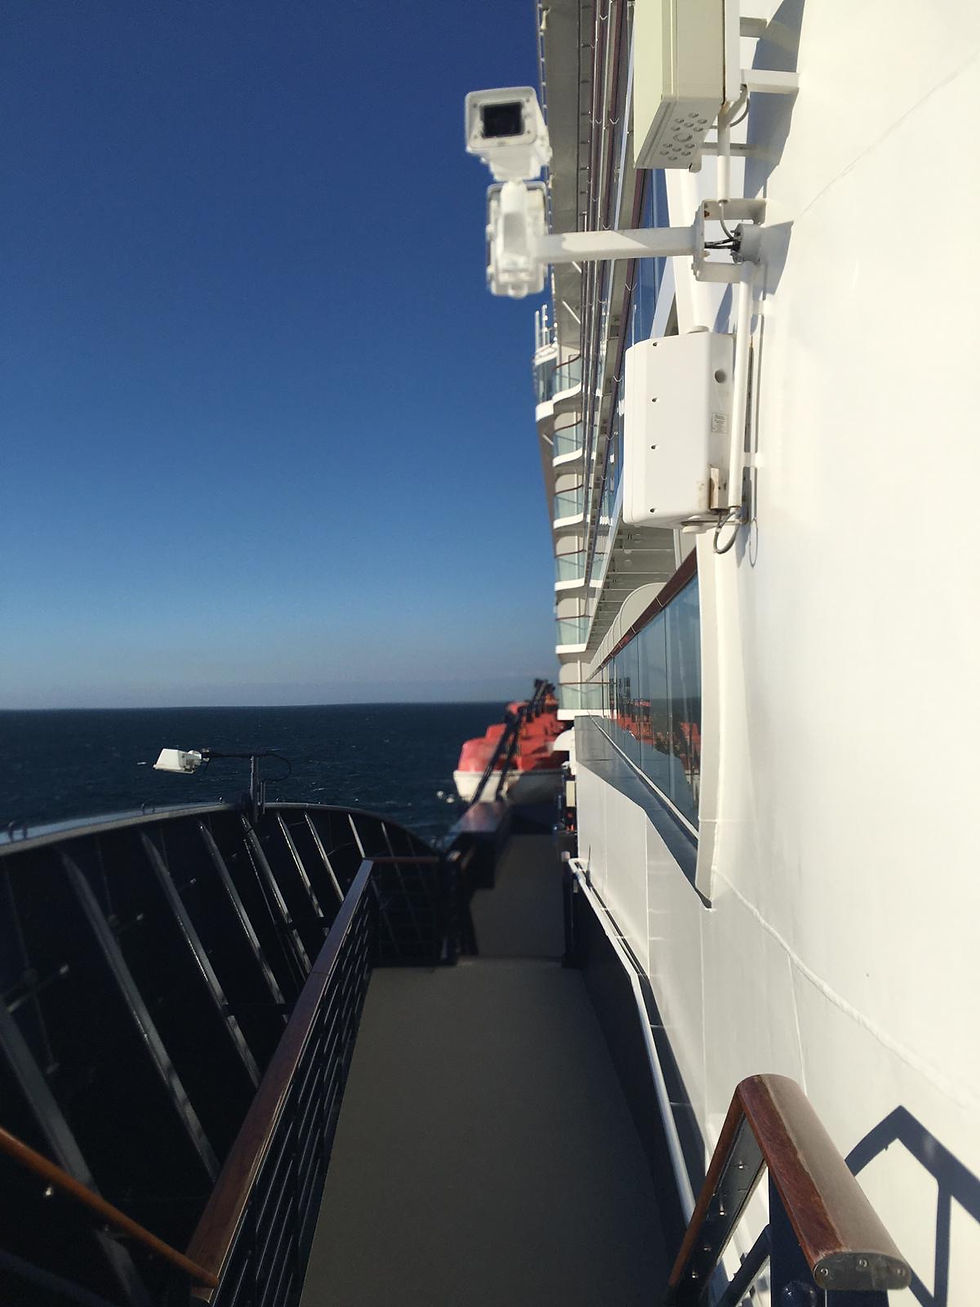
There is a boardwalk on the bow, which leads around a separate outdoor crew area. This is the foremost part, which protrudes from the fuselage in white. There is also a handrail along this "partition", the wall attachments of which did not appear very elegant on the first test print. Again, everything was deleted again.

In the model, the hull and deck superstructure - i.e. everything that stands "on" the hull body - are built separately from each other. Since the ship will later be navigable, it must be possible to open the ship in order to access batteries, electronics and propulsion. The relatively small crew deck will also be removable in order to access the engines and technology of the thruster in the bow.

The deckhouse will later be removable in one piece and can be firmly connected to the hull using fastening bolts. However, these are neither realized in the real nor in the PC model. I have already figured out how to mount it. I'll write something about that when the time comes.
Nevertheless, I had to check all points at the transition point again for their fit, so that the crew deck later fits well into the hull opening. Likewise, the crew deck continues aft in one level into deck 6 of the ship, which will be the first deck with balcony cabins. The main part of the promenade along the lifeboats is one deck below, on deck 5. A staircase leads down from the bow to deck 5.

The promenade on deck 5 runs around the entire deckhouse. The floor of deck 5 thus represents the upper edge of the ship's hull. The deckhouse is described in more detail in another article. This is very complex in terms of construction on the PC due to the many balcony partitions, but the subsequent printability is solved very well and easily - I think - but more on that later.
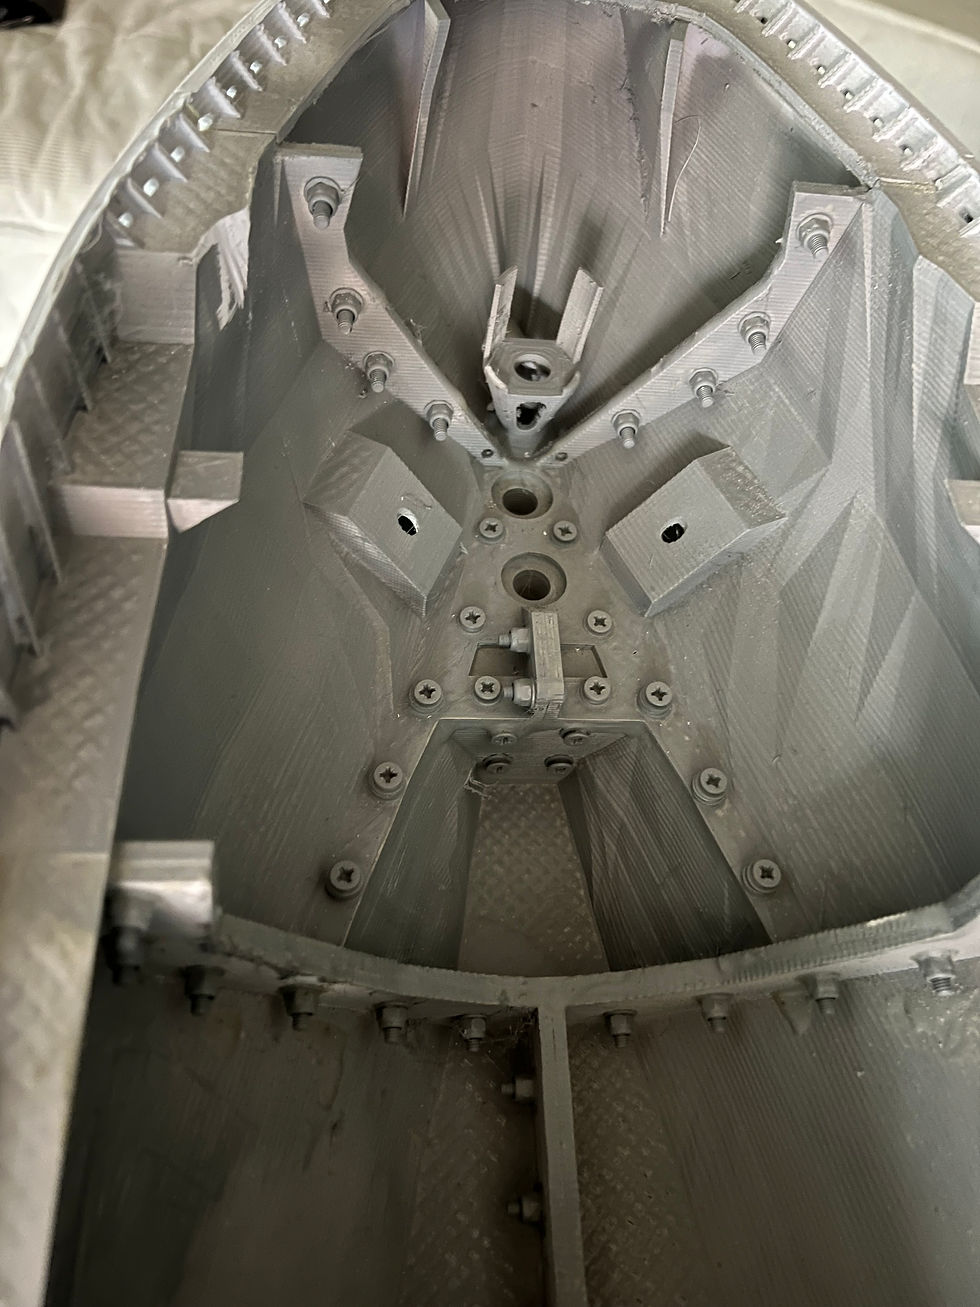
For the first print, I printed the tip of the nose completely as one piece. That took almost four days. In the meantime, the fuselage that was printed first has found its peace in the plastic waste. I cut the new front part into several parts. This time I planned the layout around the thrusters. This means that the three thrusters or their nacelles, which are firmly attached to the fuselage, are printed as one section.
Here, too, I have drilled holes in all areas for screwing all parts together. The screw connection was also very helpful here for the precise assembly. Since there is a lot of adhesive surface here and due to the "nesting" there is also a lot of potential for leaks, it was necessary to work anything but sparingly with the epoxy resin adhesive during assembly. I liberally coated every available surface with glue so that it oozed out of the joints when the screws were assembled and tightened.

With the bow now fully completed it could be connected to the rest of the ship and the hull was now complete.
Thank you for taking the time to read this post. Next week we will continue with the preparations of the deckhouse and the foundation, which will be formed by the deck 5 superstructure.
Have a nice day and we hope to see you next time again!


Comentarios